Transform your food photography with these everyday objects! Learn to create stunning Insta-worthy images with simple household items.

Ever stop and drool over desserts on Instagram and wonder how on earth they look so good? Look no further. I’m here to help you crack the code with simple hacks, styling suggestions, and an overview to quickly get drool-worthy eye-catching images.
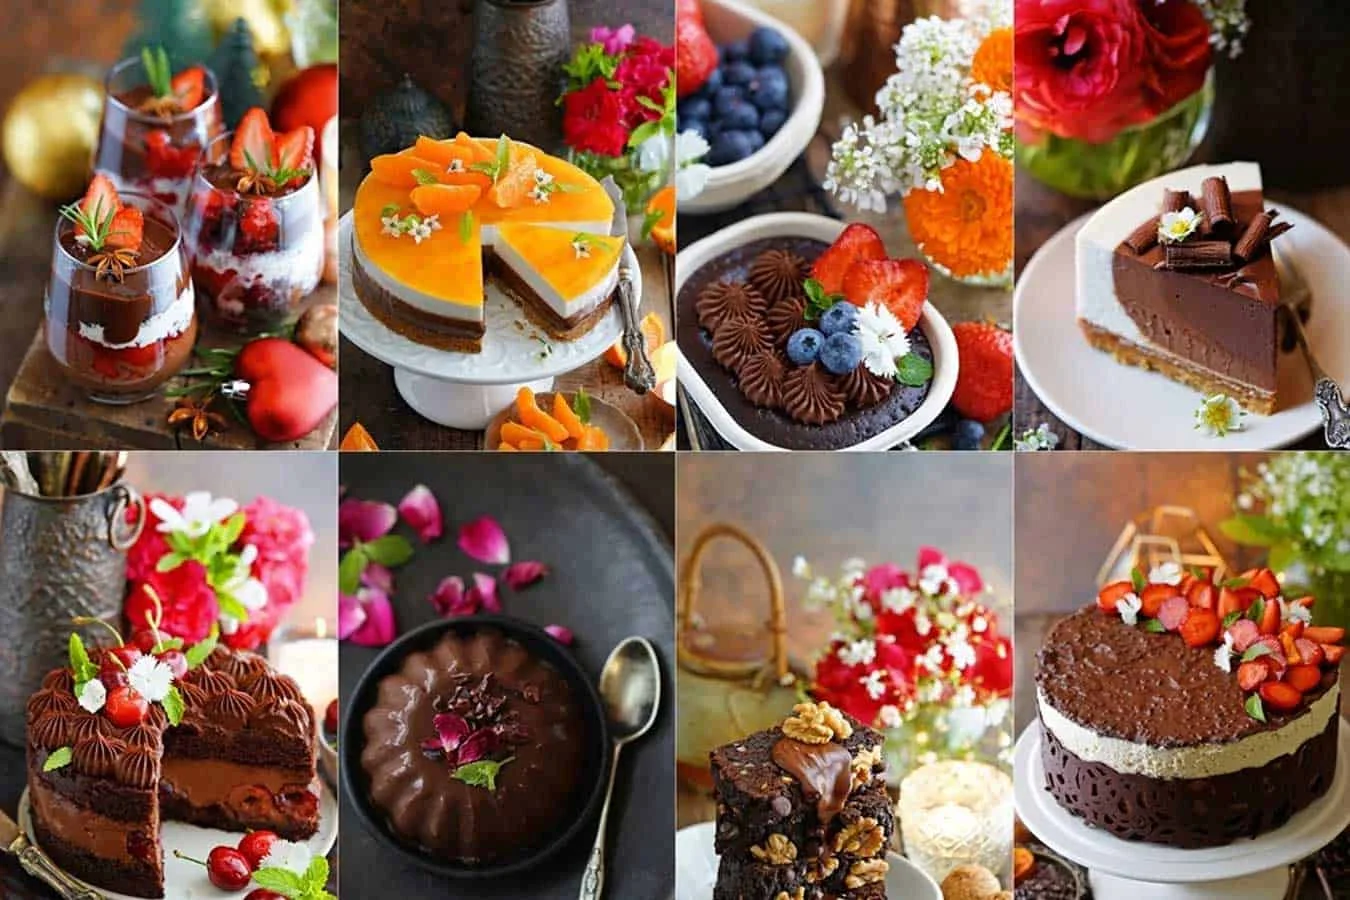
Oh, did I tell you that chocolate desserts garner loads of attention? You bet, so we’ll look at chocolate desserts here. Here’s to upping your instagram game with droolworthy images.
You don’t need a fancy camera to do simple cake photography.
First things first, you don’t need an expensive camera or a high-end lens to shoot everyday Insta-worthy images. Cell phones have excellent camera specs these days. Do remember to clean the lens – that honestly helps. Your best equipment is your eyes. The way you look at a composition or frame is what translates into the image, and practice definitely makes perfect. There are no shortcuts in life but there is always a bonus. The more chocolate you shoot, the more chocolate you get to eat, so win win!
Remember, no distractions – let your hero shine through.
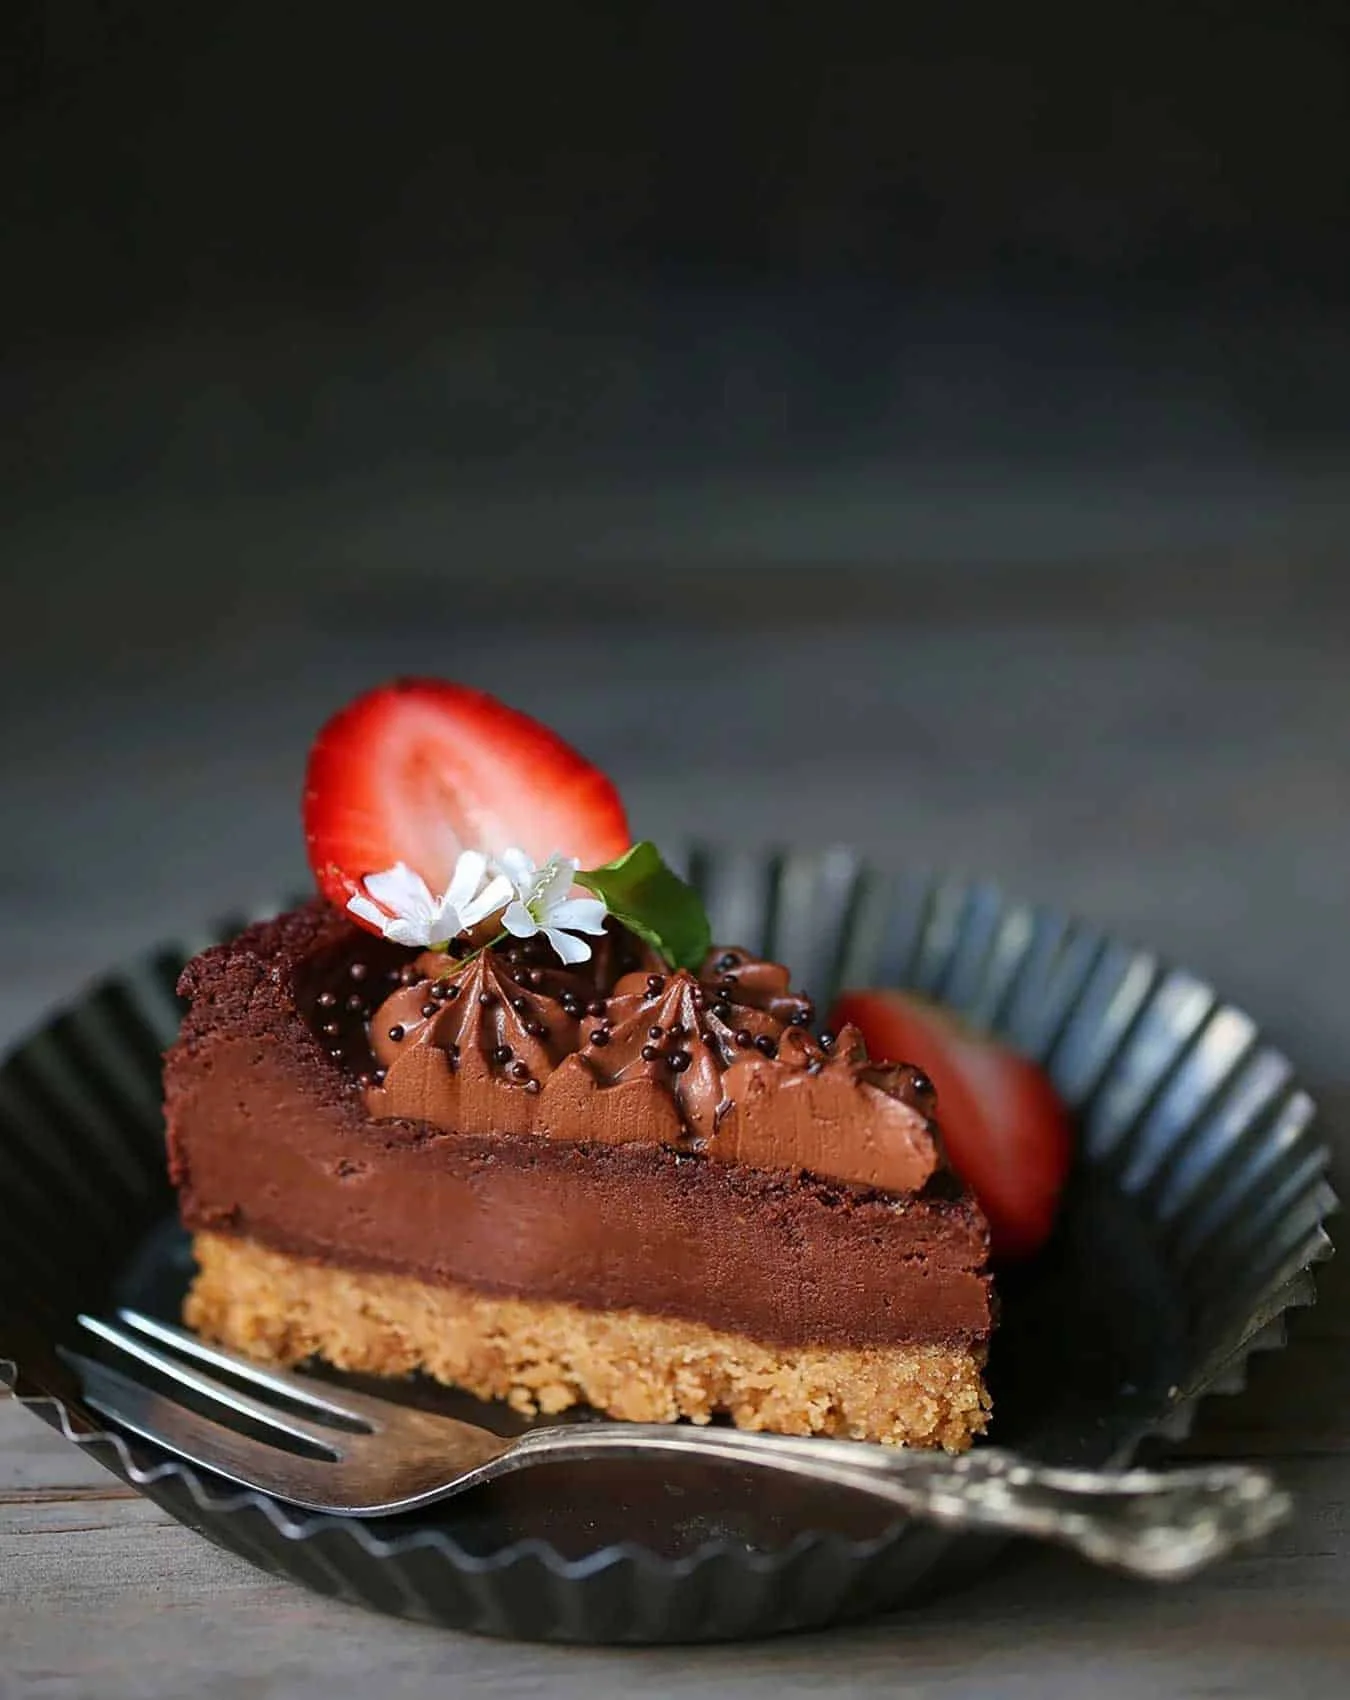
When I began shooting chocolate, it seemed an uphill task. It wasn't easy to shoot it but slowly, the more I shot chocolate desserts, the more I enjoyed it. The key is to make sure your dessert is the star, the hero, the center of focus. That’s what should draw the viewer's eye. Everything else in the frame are supporting actors that make the hero shine! Sounds simple right? So remember to build the frame around your hero!
How do you get your ‘hero’ to shine? A good starting point is by having a clutter-free background for your image. If you are using fabric or a backsplash to style your dessert, choose one in a single, solid color. Patterned backgrounds can be distracting and take away focus from the dessert.
Also make sure the background is big enough to ‘hold’ your hero and give your image some breathing space or empty space around. This is also known as negative space, and it helps make your image look aesthetic and not forced.
Get your mood on.
Yes, your photograph can have a mood too! You have two choices here: you can either go moody or dark and use a dark background; or you can go light and bright with a background of white marble, jute, linen, and canvas. For a dark, moody look, try wood, stone, slate as bases that offer a dark background.
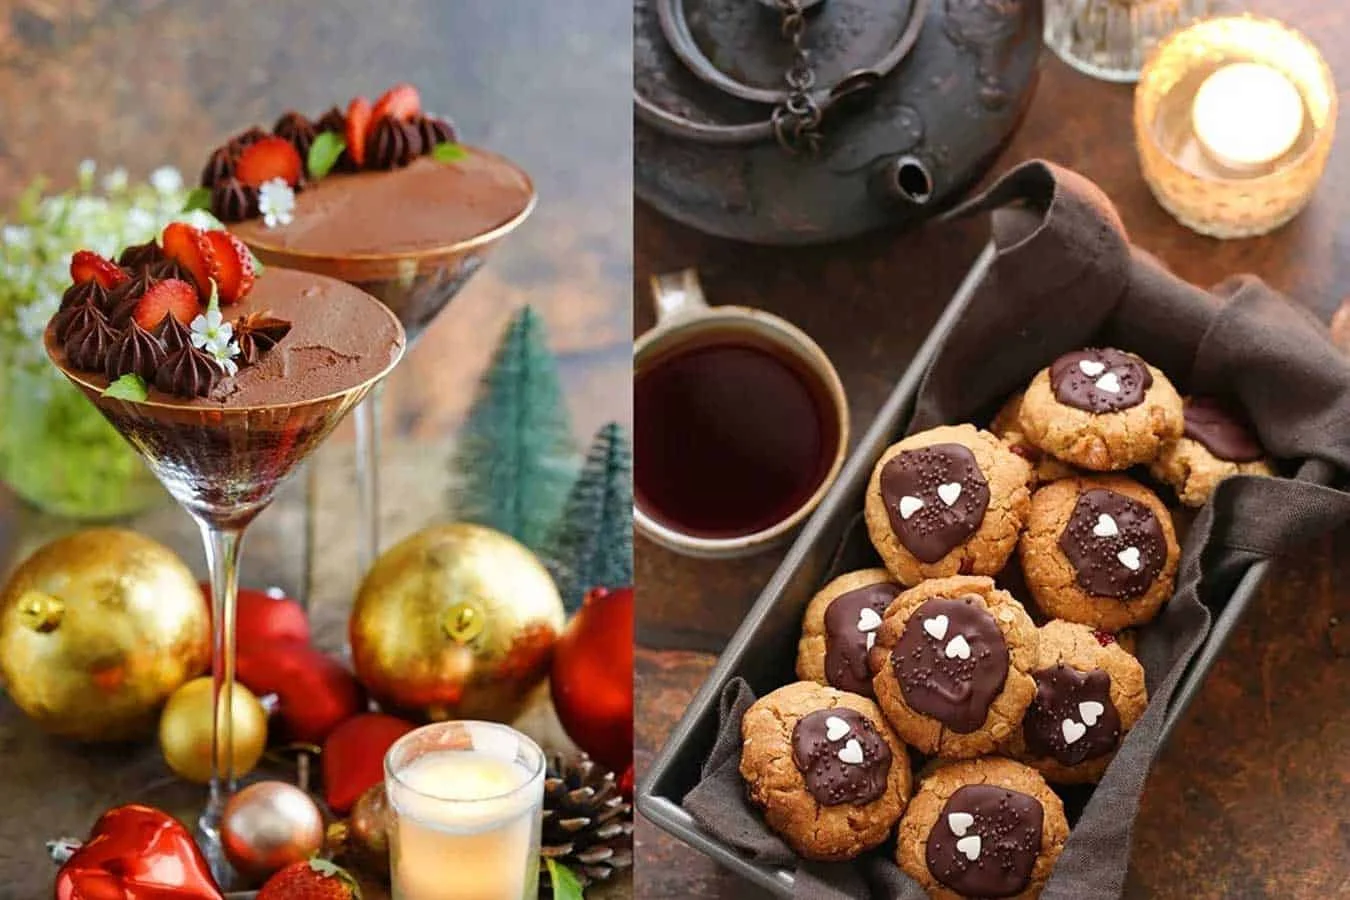
Your color choices also affect the mood of your photograph. Chocolate pairs well with deep reds, earthy oranges, and even blue – these colors are a great choice for a dark moody image. If you are going for a lighter mood, try off white, cream, beige, light gray, and light blue. But whatever you choose, make sure that you use colors that compliment each other, that add some drama, that look good naturally. To stay topical or trendy, consider following a theme for your images, like Christmas-themed dessert photography.
Props are a crucial part of any food photography idea.
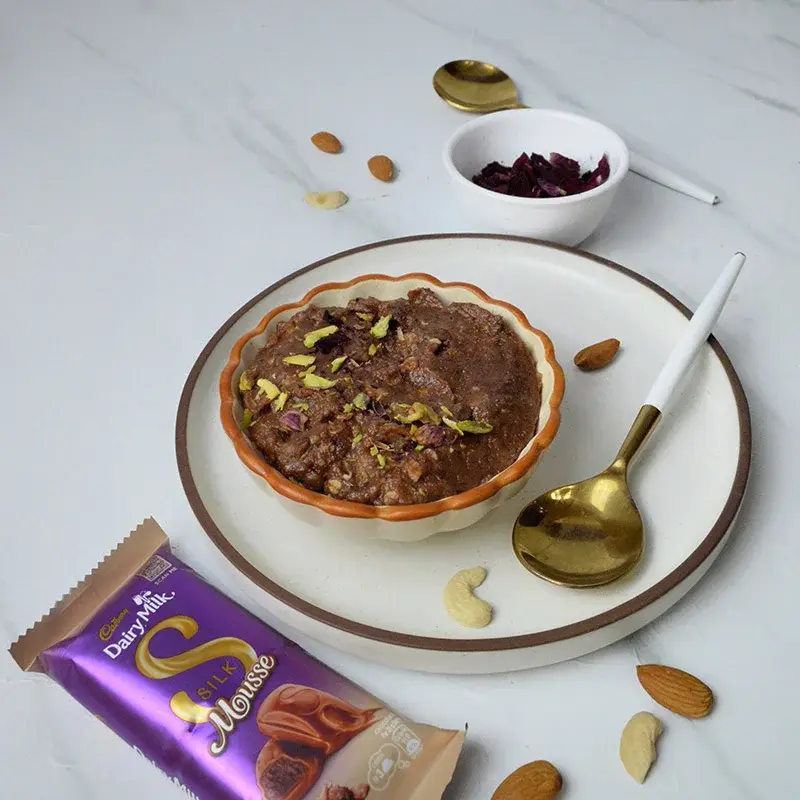
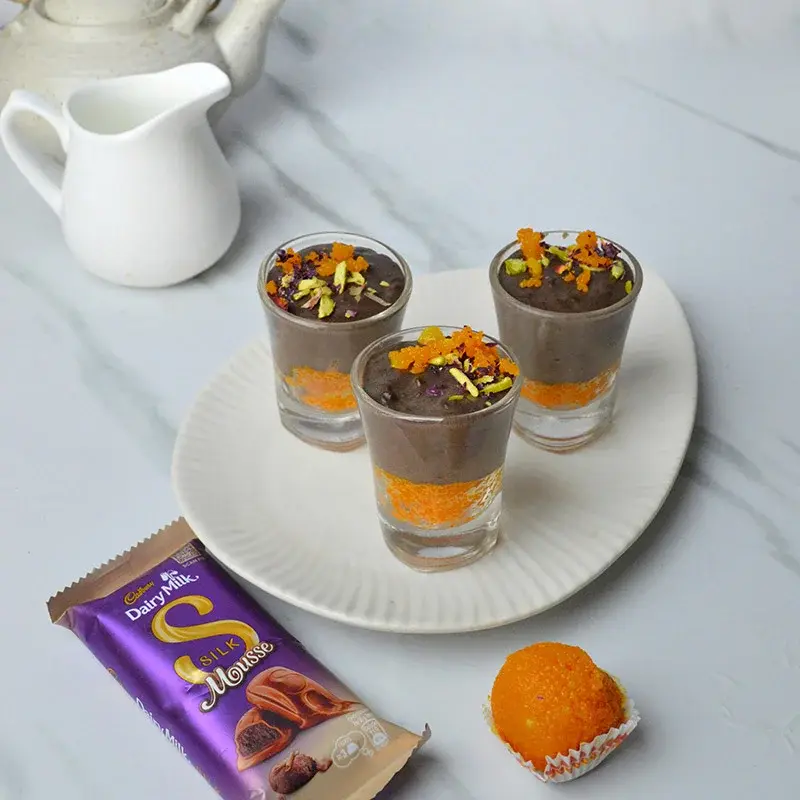
Props are a great asset to food styling. They can literally make or break a picture, so think well before you add them. Begin with a minimal, almost no props image and build up slowly as you go. Try and ensure that what you add to the frame is relevant to your story. It’s nice to use elements that connect to the dessert – maybe some linen, a spoon or dessert fork, a pretty platter, a vintage pourer, perhaps a candle. Small flowers in a vase in the background can add to the aesthetics of your photo. The rule of thumb is to keep things that are relevant in the frame, also things that are not larger than the hero, your dessert, or too colorful that they draw the attention away from your hero.
Find inspiration for some great food photography ideas.
It never hurts to look for inspiration. You’ll figure this out as you shoot, else find an image that inspires you. Try and emulate it only as a starting off point without copying it completely, otherwise you won't develop a personal style. Pinterest is a nice place to look for inspiration. Once you get the hang of things, start building your signature style, something you’d like to be known for and people will connect with.
Let’s get sciencey with light and shadow.
So we’ve got a set up and it’s time to shoot. A few things will matter here, such as light and shadow of course. I shoot only in natural light as I truly believe food looks best in it. It is also the cheapest way to shoot since you don’t need to invest in expensive lighting equipment. Get to a one-directional light source to give you a good feel and natural shadows. A window or door from where light streams in is often enough to light up your image! Study the natural light in the place you shoot, the time of the day that gives you the best light. For me early mornings and before sunset are ideal – the golden hue at sunset unmatched!
Decide on the right angle for your photography.
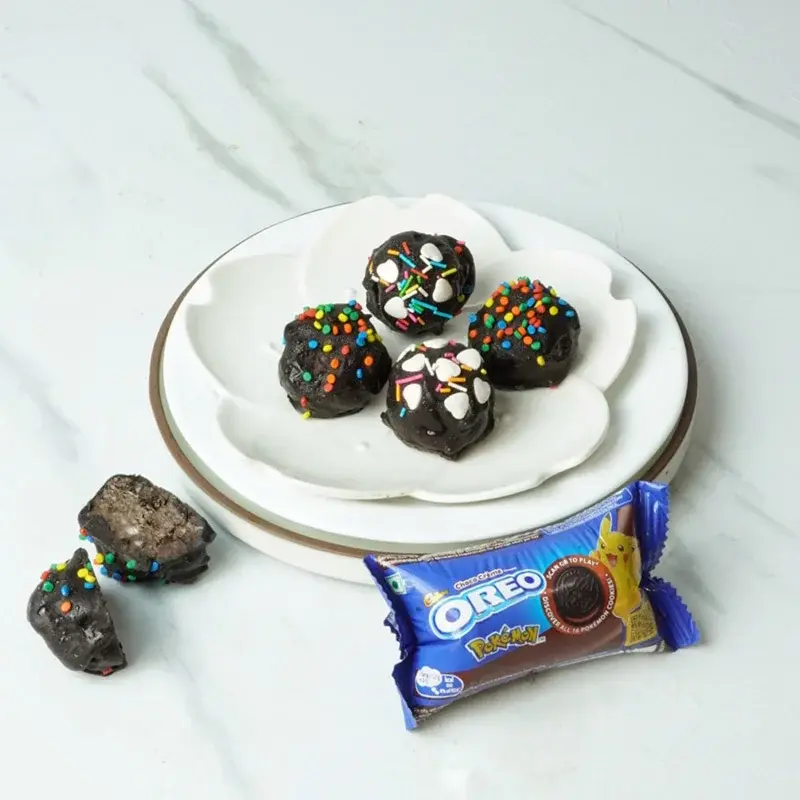
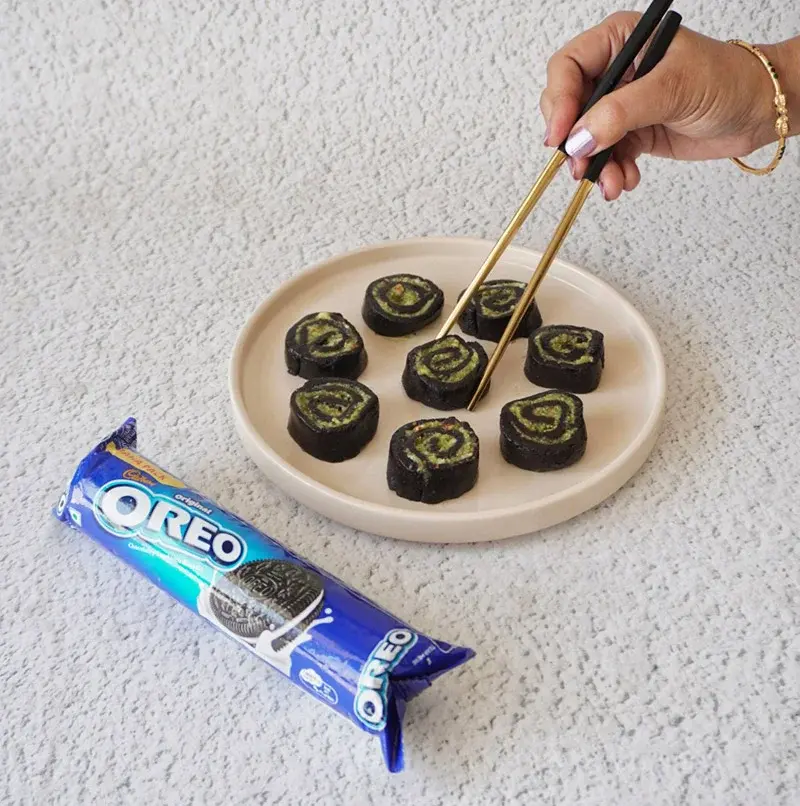
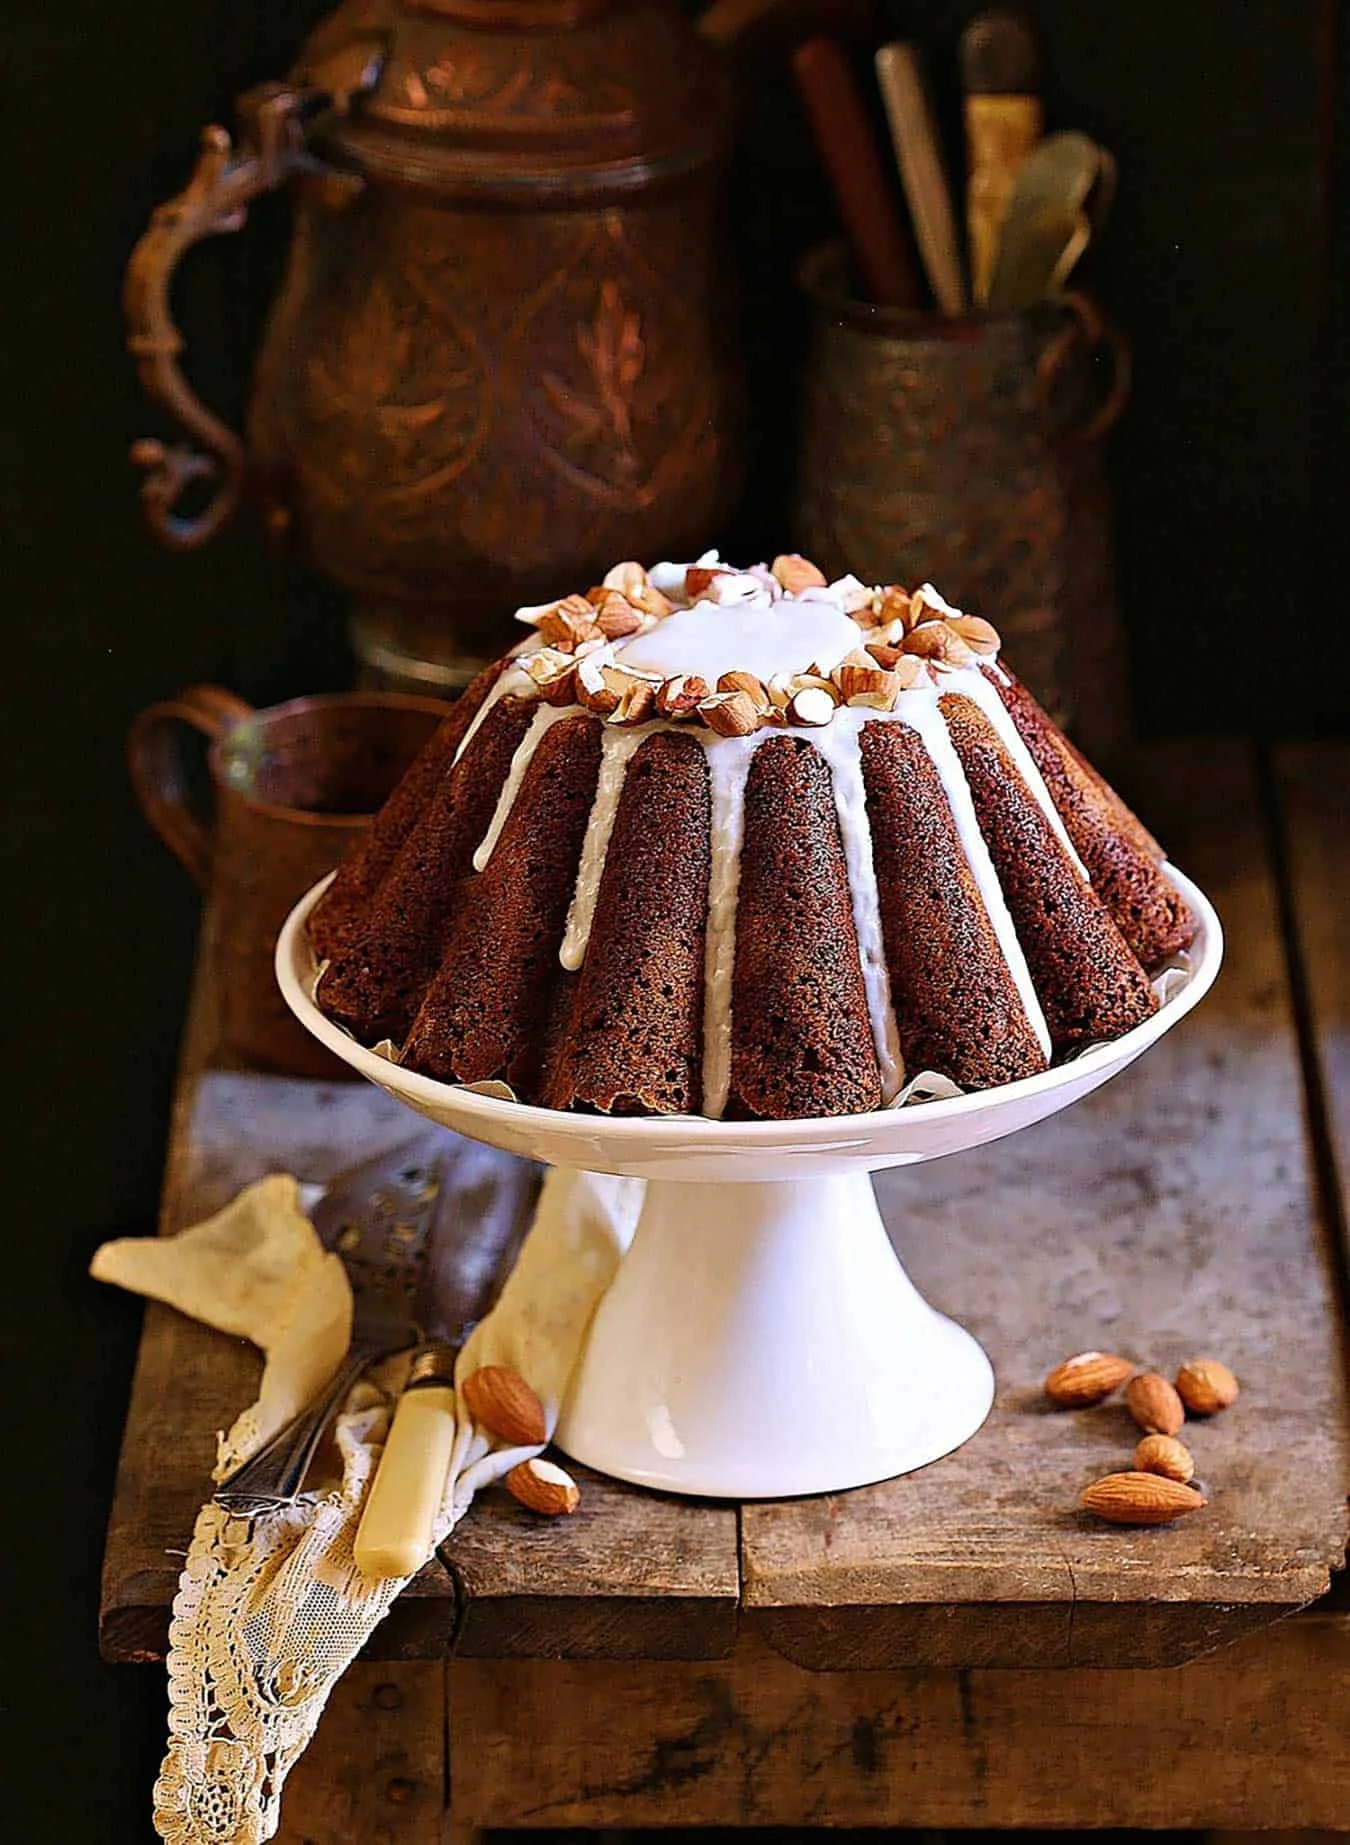
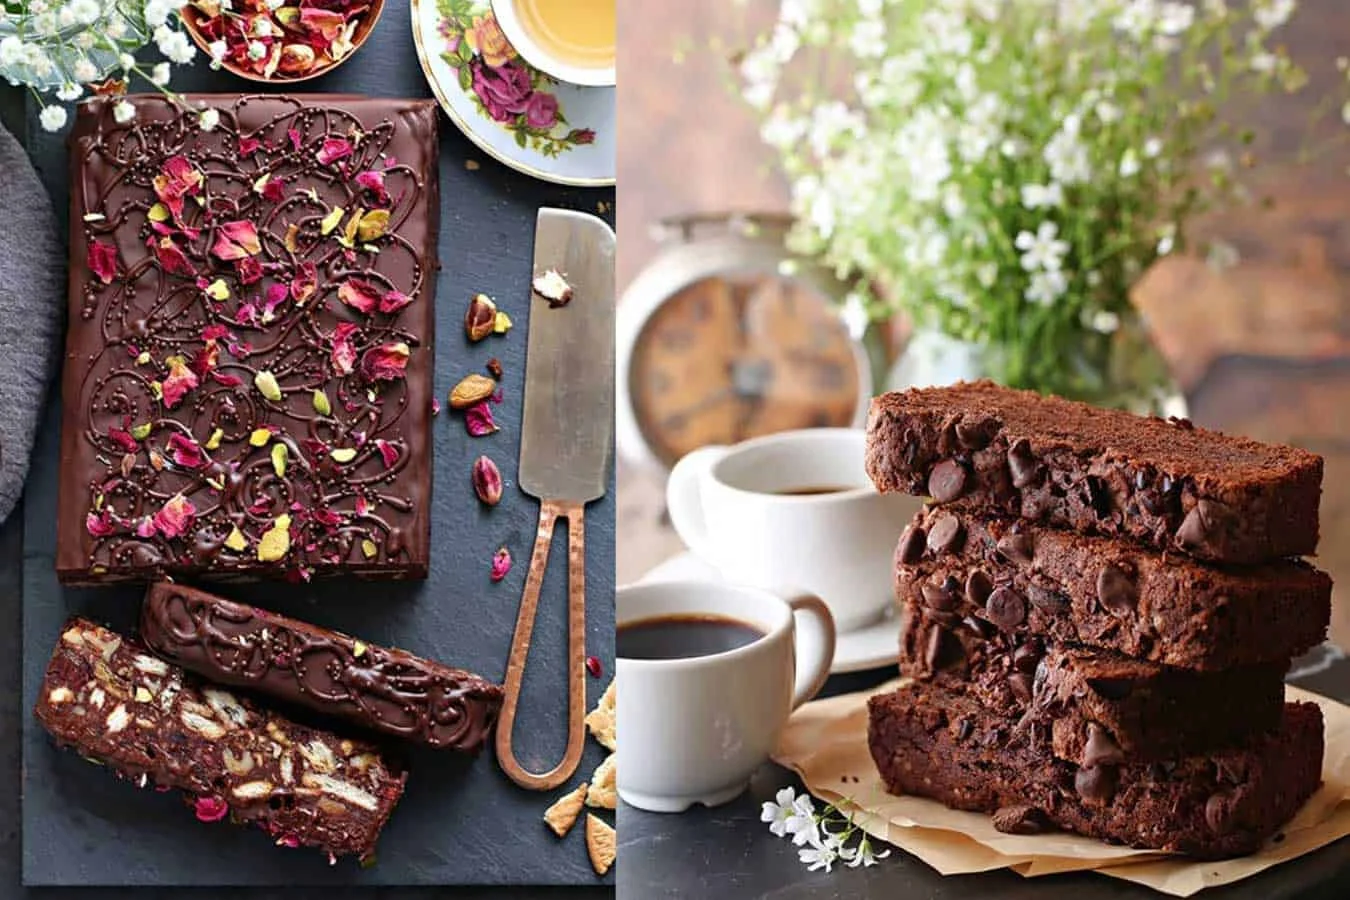
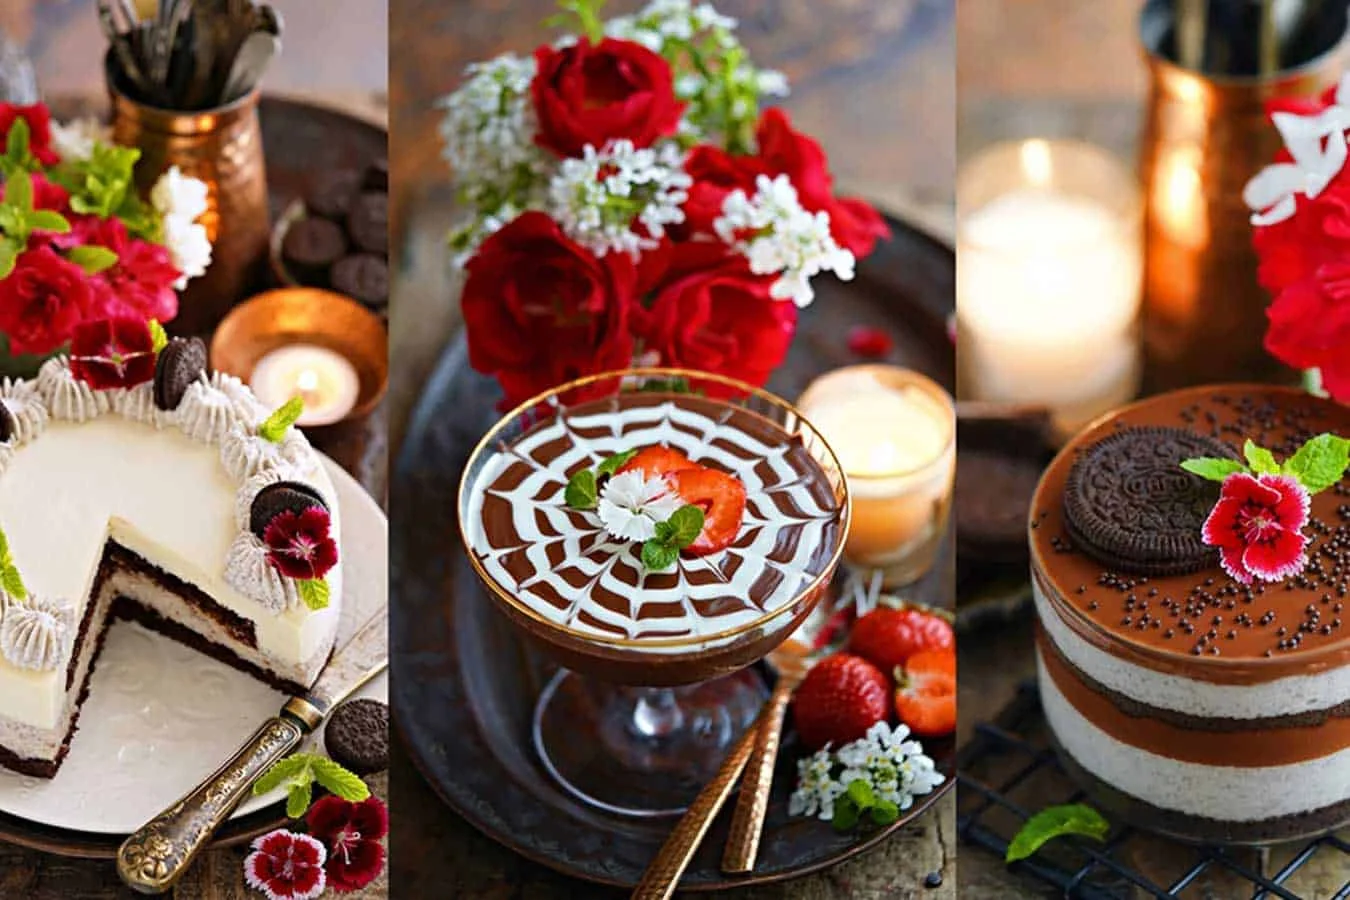
The angle at which an image is shot is easy to figure out as most images look nice the way the eye views them naturally, at a 45-60 degree angle. However, if you are shooting an Oreo pizza, or perhaps chocolate bark, an overhead shot from the top might work best since the dessert is too flat to be shot from the side. Do experiment with other angles too. You never know what might surprise you! If it’s a layered cake like the Oreo Tres Leches Cake or pile of cookies like the Bournville Orange Squares, the side is a good place to shoot. As always, experiment different angles, going high and low. Eventually, with practice, you will figure out what looks best.
Finally, go crazy with the garnish!
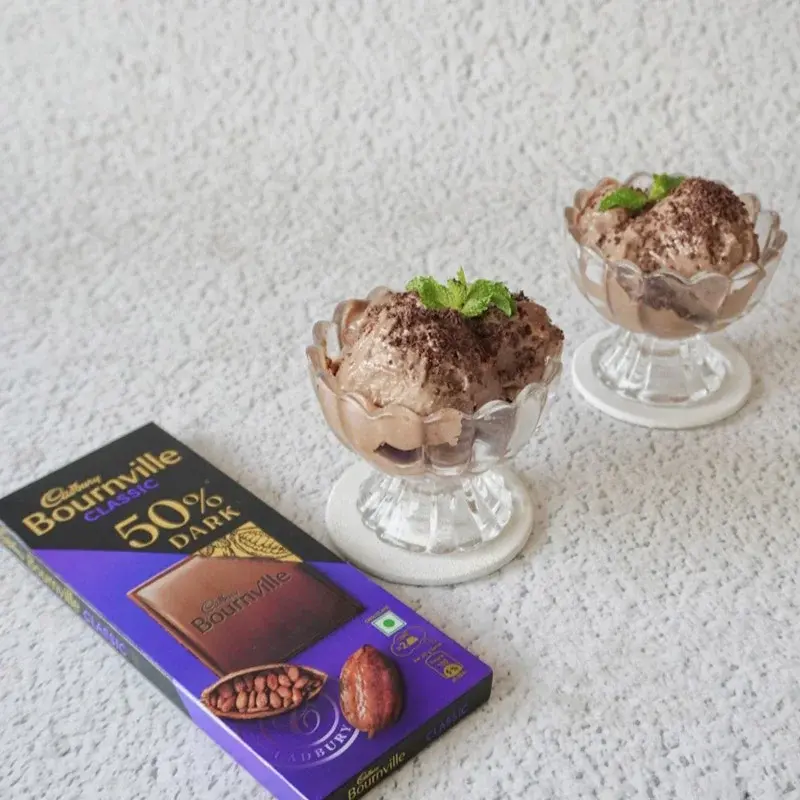
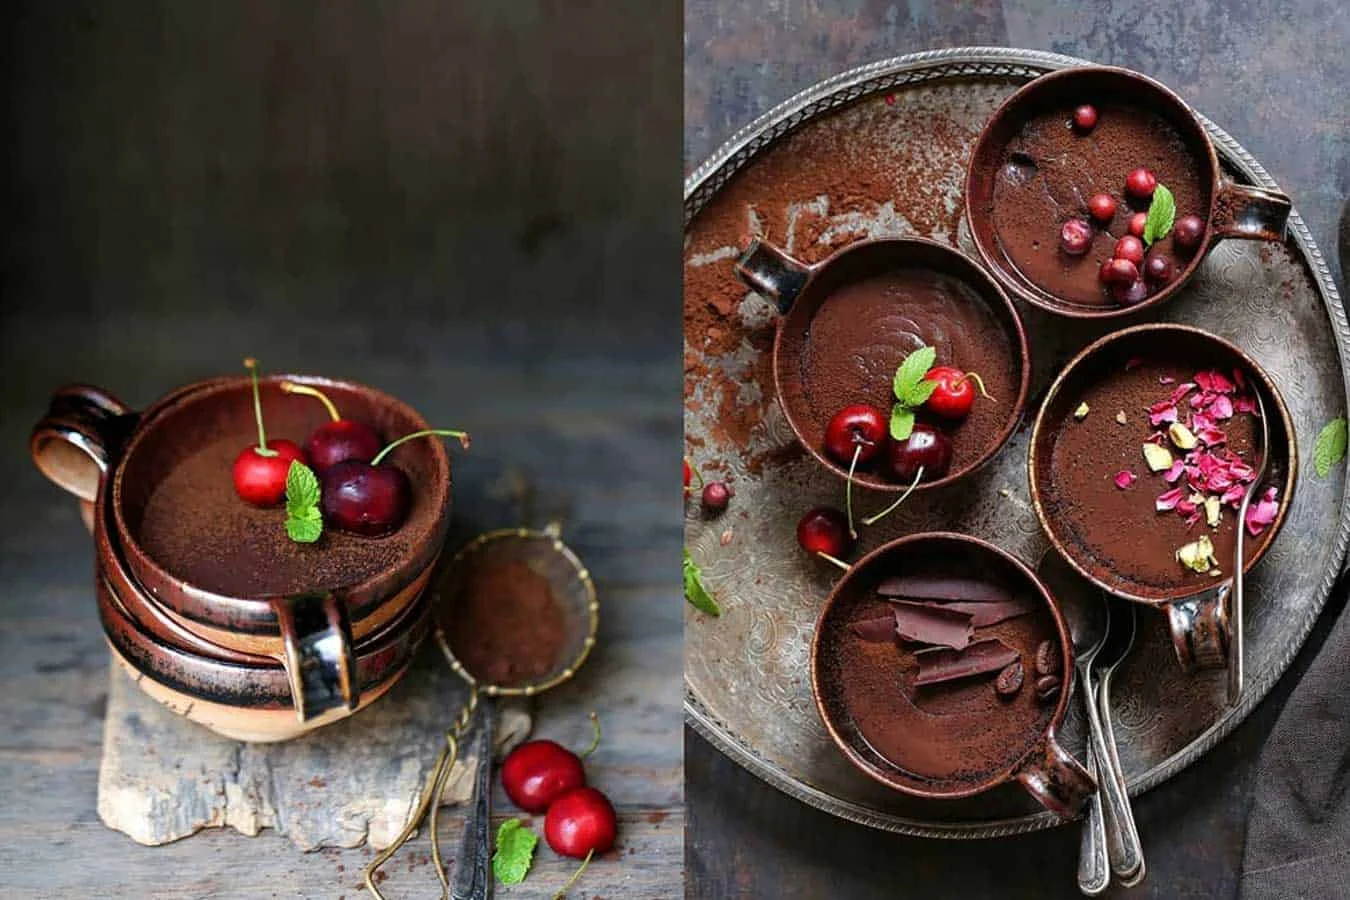
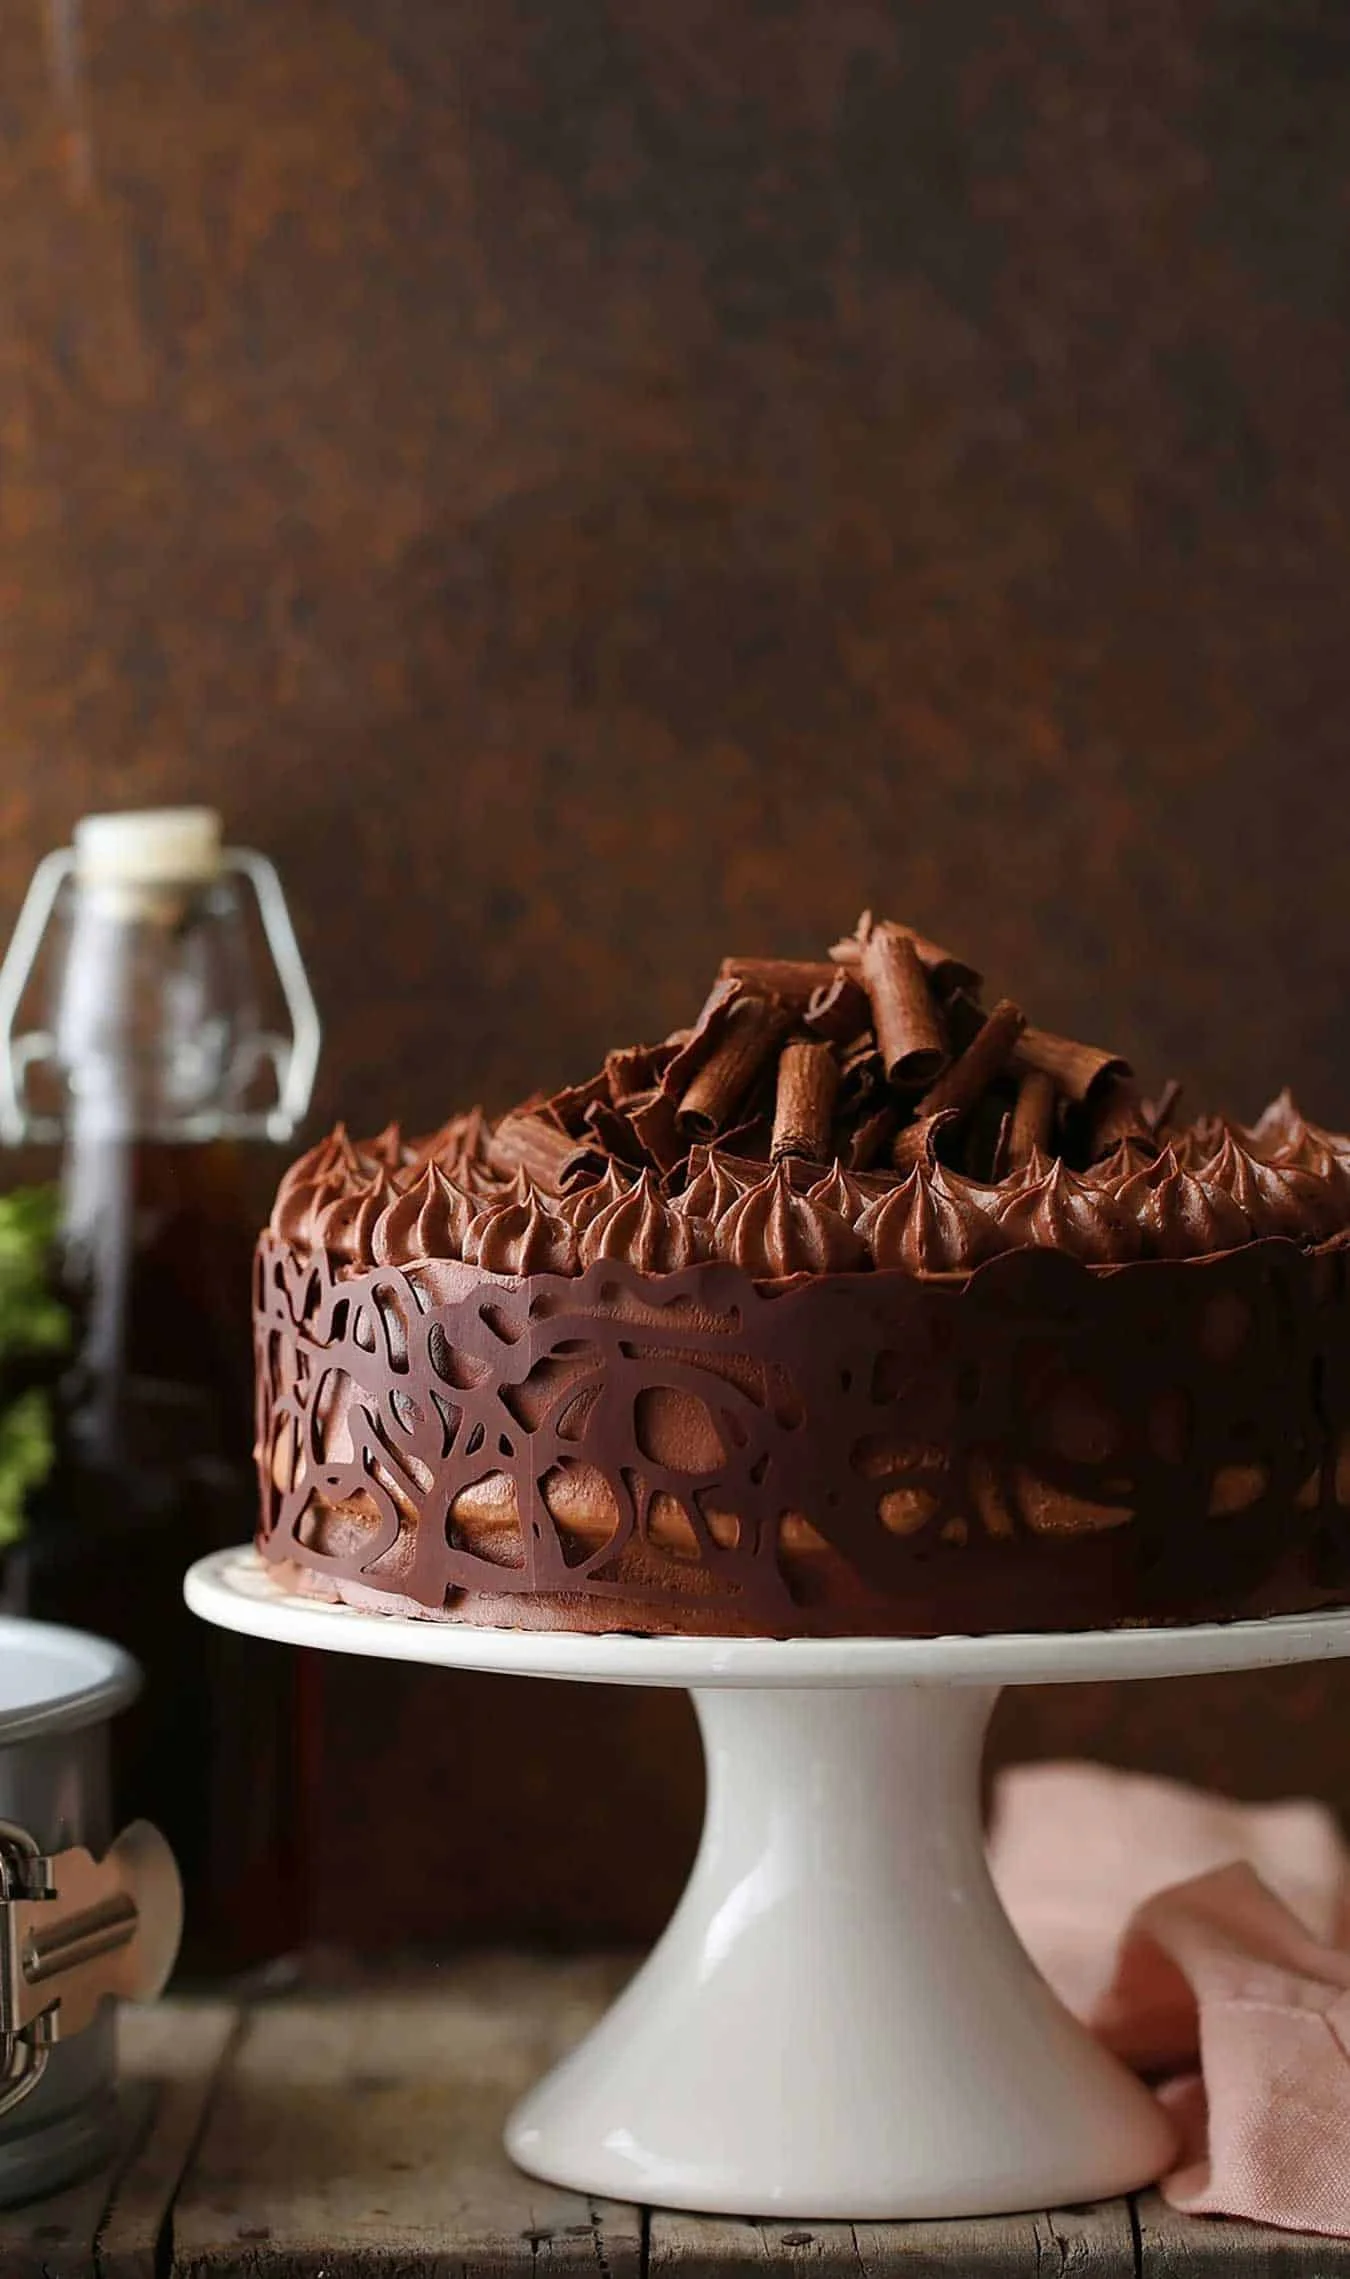
This is probably my most favorite part of food styling. The right garnish (or garnishes!) can really make a dessert pop. First rule, make sure the garnish is edible! There are ways to garnish your dessert. A simple way to use an ingredient in the dessert. For example, using blueberries as a garnish on Cadbury Chocolate Blueberry Cake. My favorite however is to make embellishments out of melted chocolate to garnish my chocolate desserts often. These are small touches but they make the dessert look different, take it to another level, add oomph. If you like flowers, check out this post on using edible flowers to decorate your desserts.
Here are some other food photography ideas for you: use a simple piped ganache, cookies, chocolate from a bar, a chocolate lace collar, marbling with cream, fresh fruit (think seasonal berries), dried fruit (almond or pistachio slivers, pecan or walnut halves), fresh herbs (a sprig of mint, basil, thyme, rosemary), a dusting of cocoa powder and edible flowers (pansies, dianthus, rose petals, and chili flowers etc).
Like This Article?
More Like This


Popular Articles

Trending Web Stories


Curated Recipes